

This guide will show you how to set up Single Sign-On (SSO) with Microsoft Entra by registering a new application and configuring the necessary settings. Let's look at the steps:
Step 1: Open Microsoft Entra Admin Center
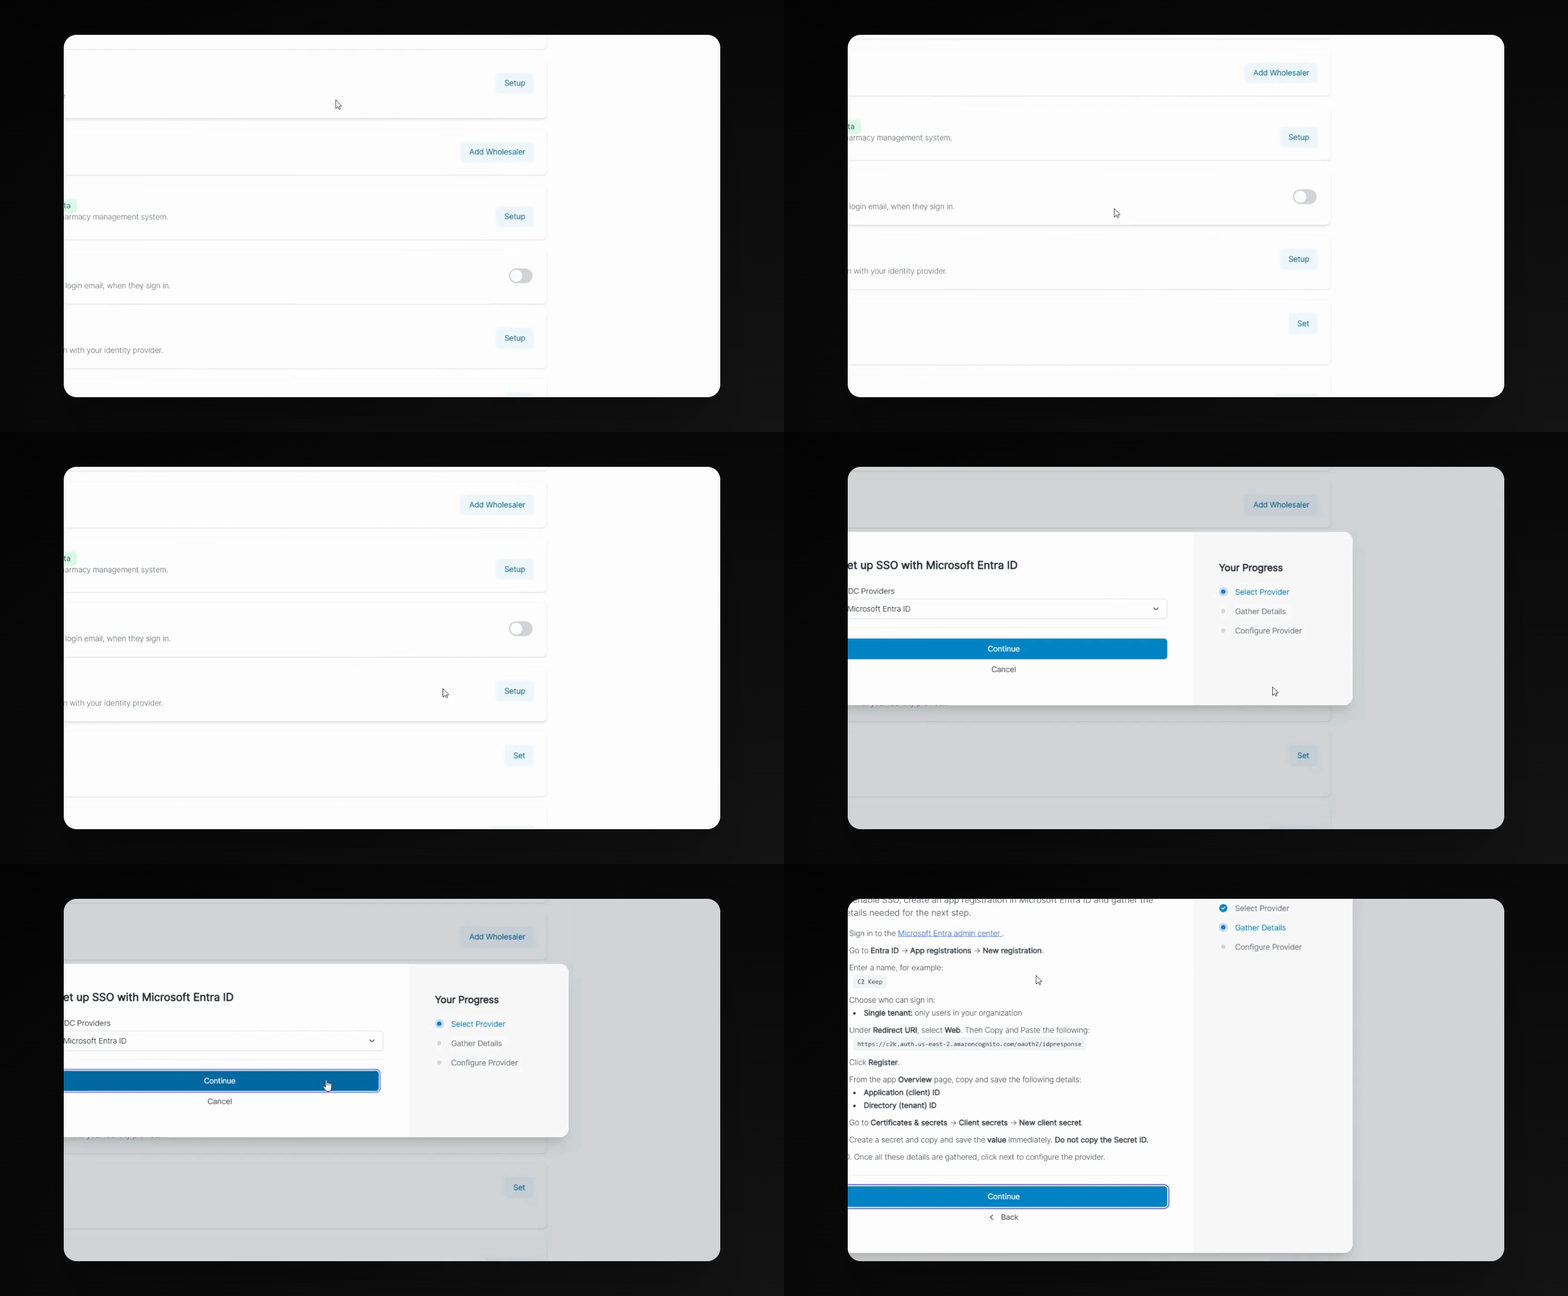
Go to Settings in your application, then click Setup. Continue to the Microsoft Entra Admin center by clicking the provided link.
Step 2: Register a New Application
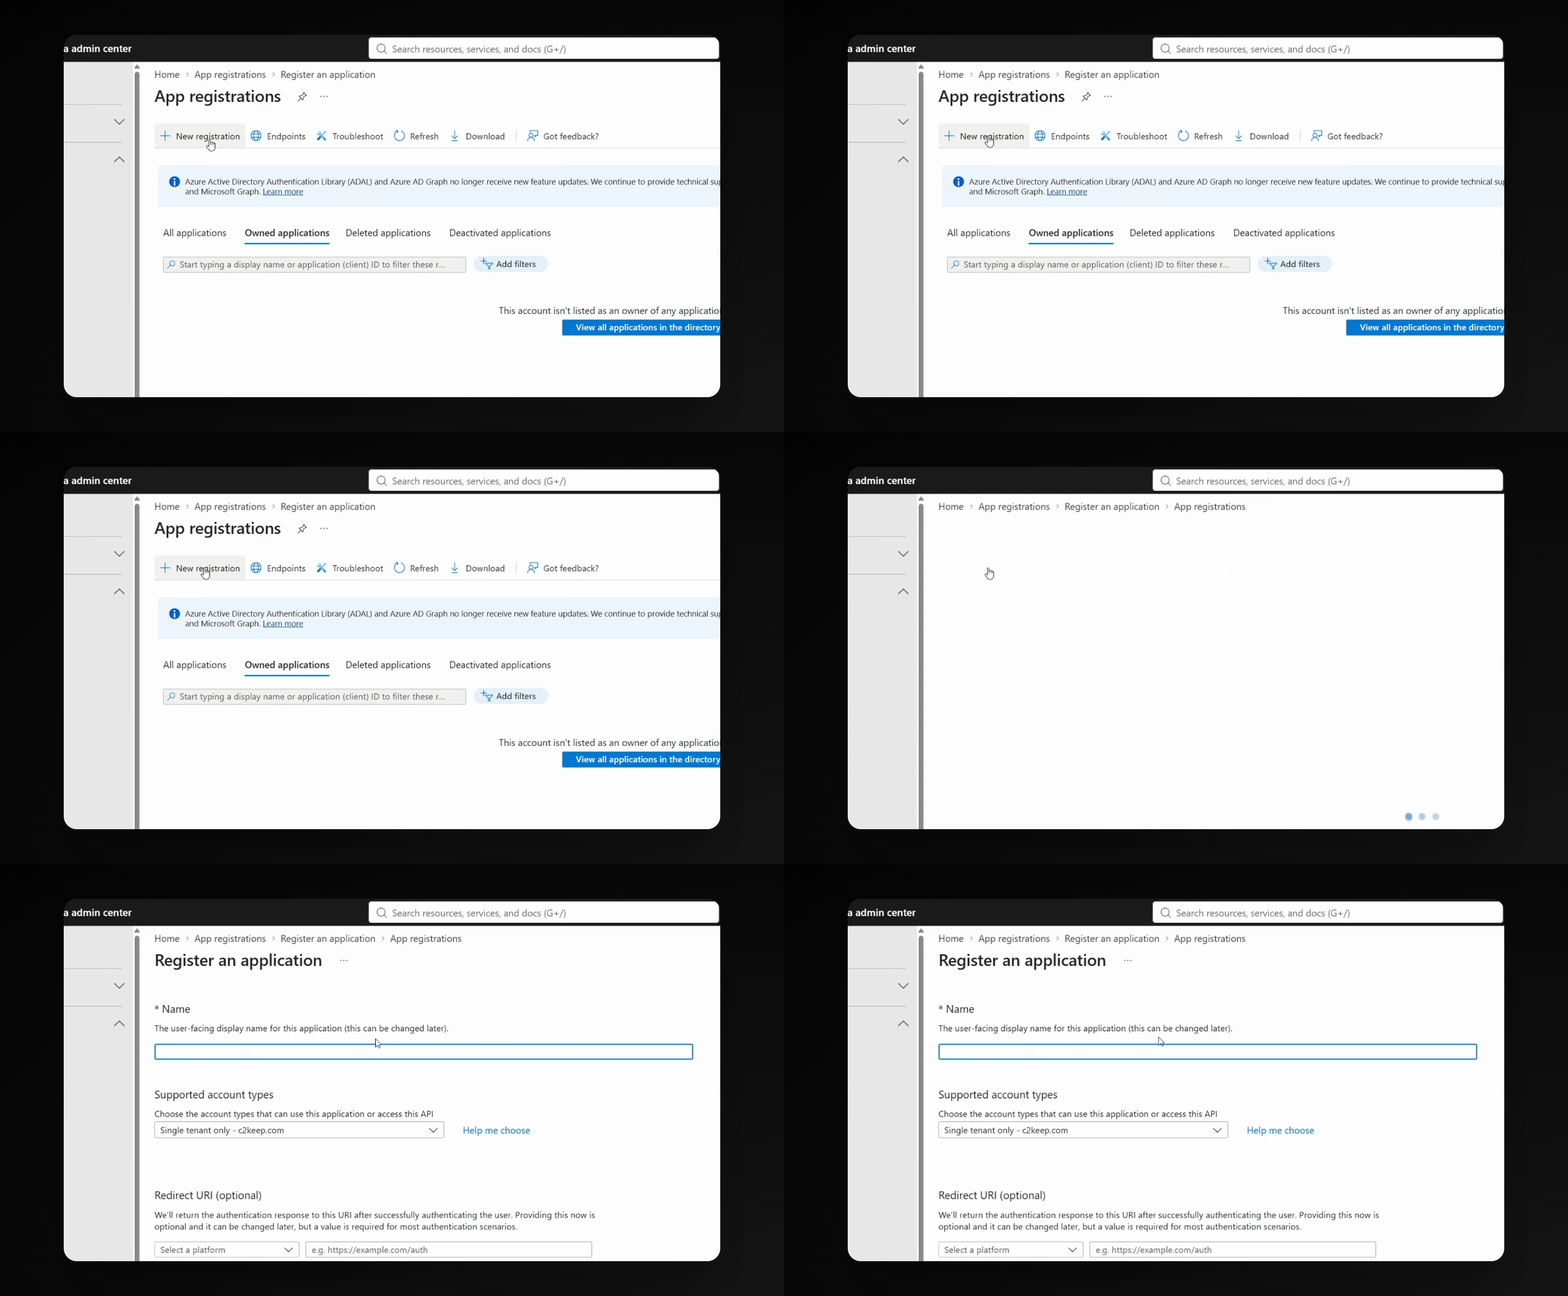
In the Microsoft Entra Admin center, find App registrations and click New registration.
Step 3: Configure Application Details
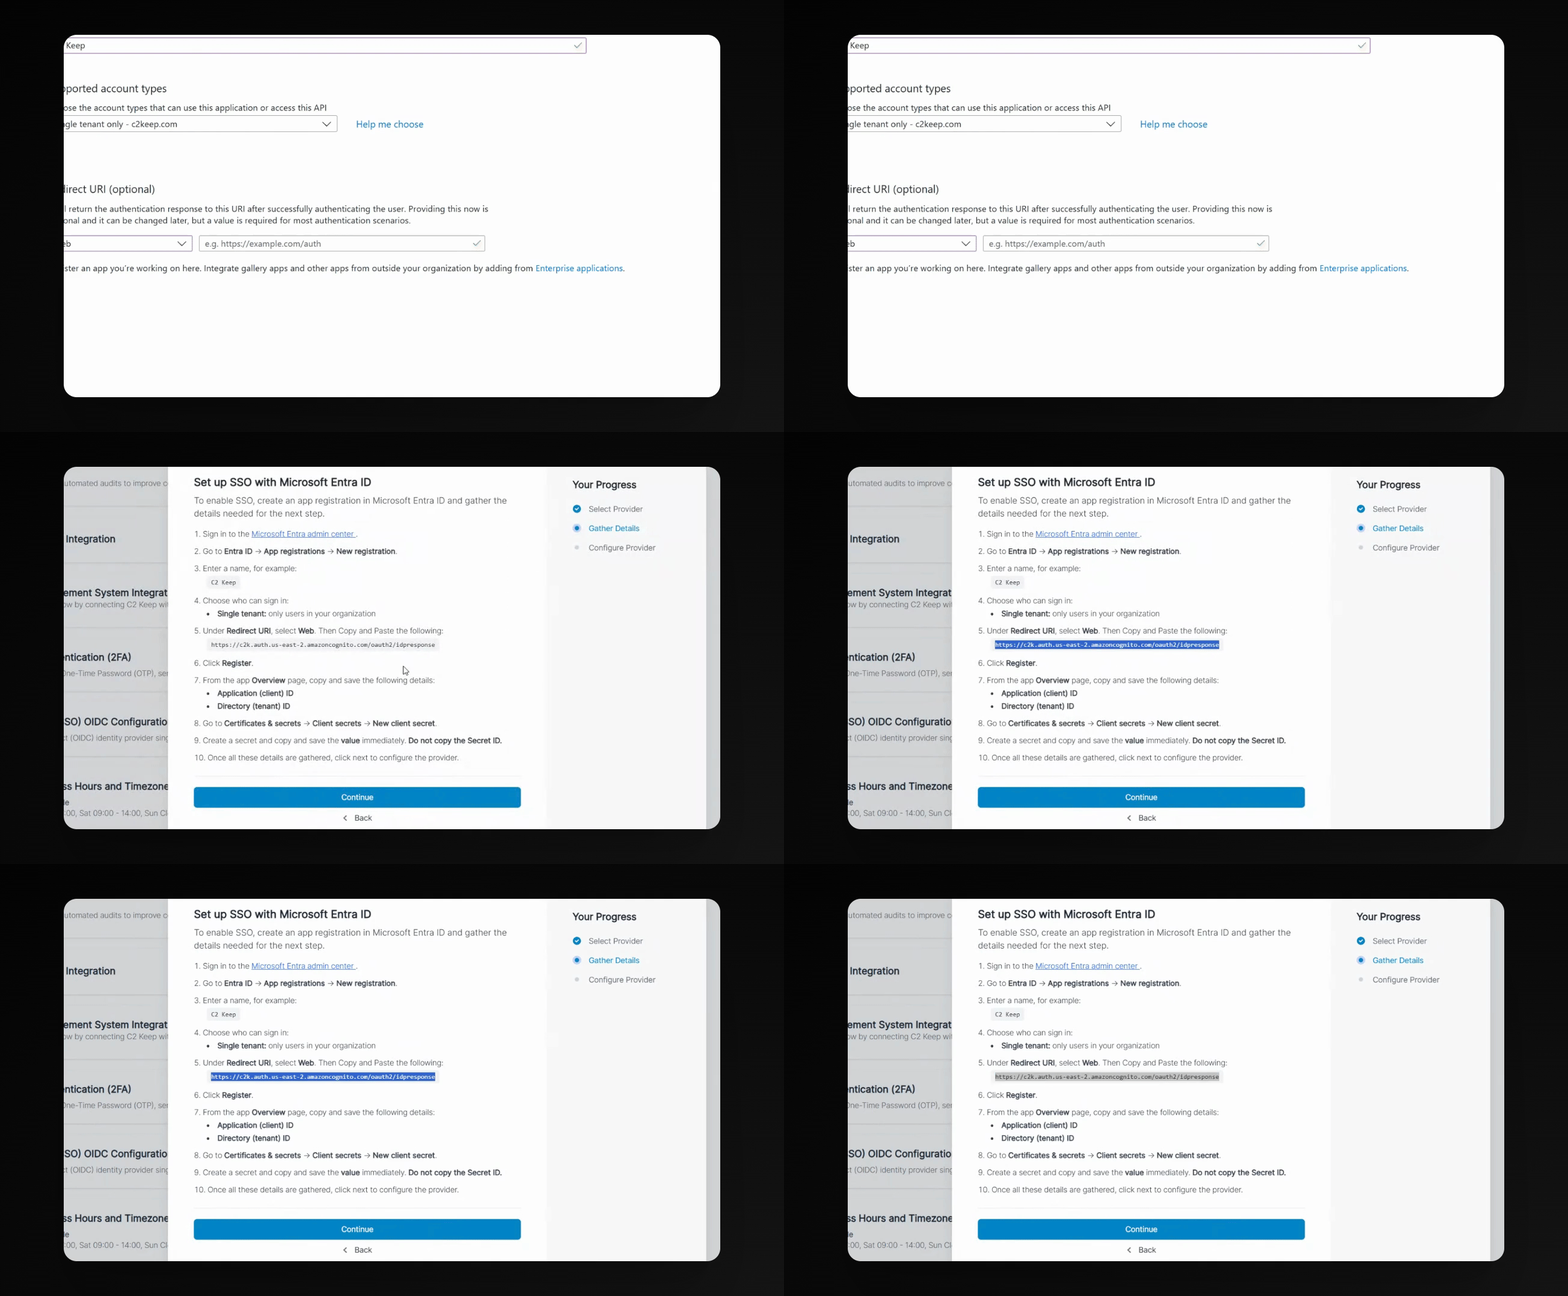
Enter a name for your application. For Account type, select Single tenant only. For Redirect URI, choose Web. Go back to your application, copy the provided redirect URI, and paste it here. Click Register to create the application.
Step 4: Copy Client ID
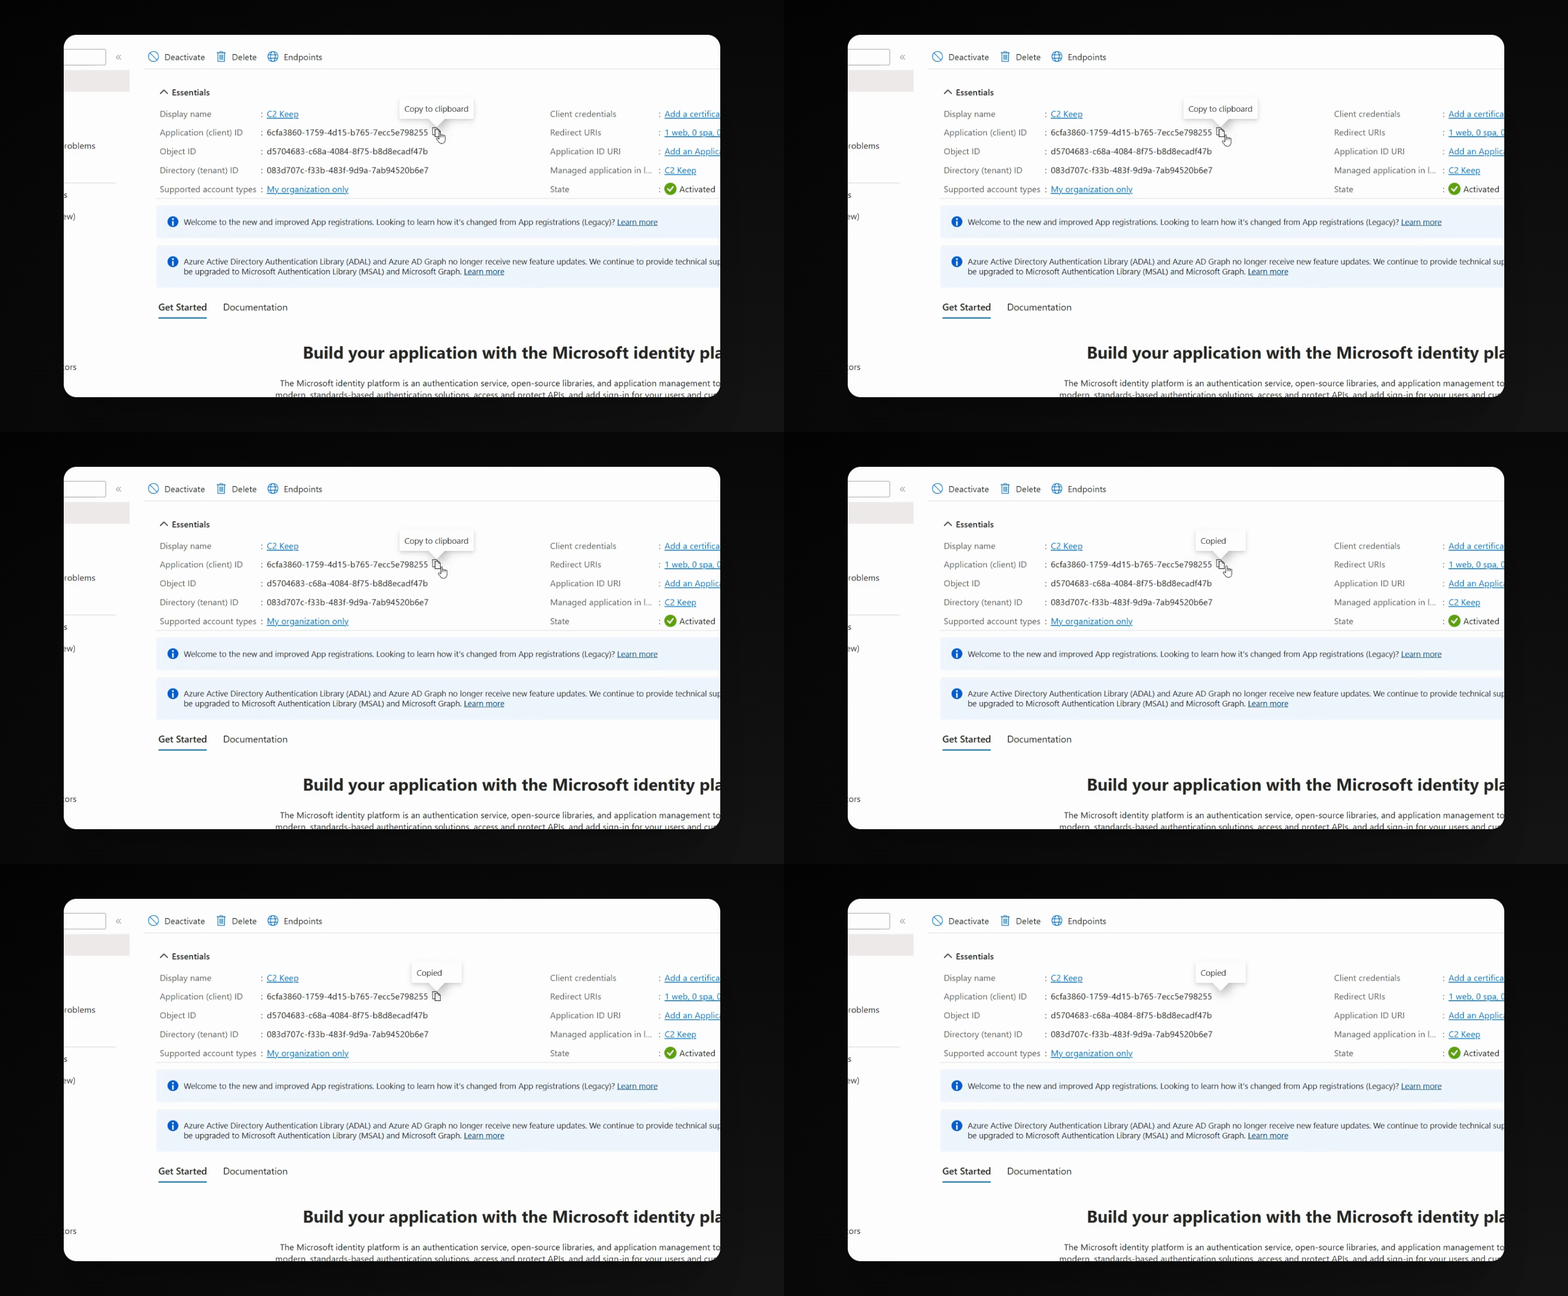
After registration, locate and copy the Client ID from your application overview.
Step 5: Enter Client ID and Tenant ID
In your application setup, click Next and paste the Client ID. Then, copy and paste the Tenant ID.
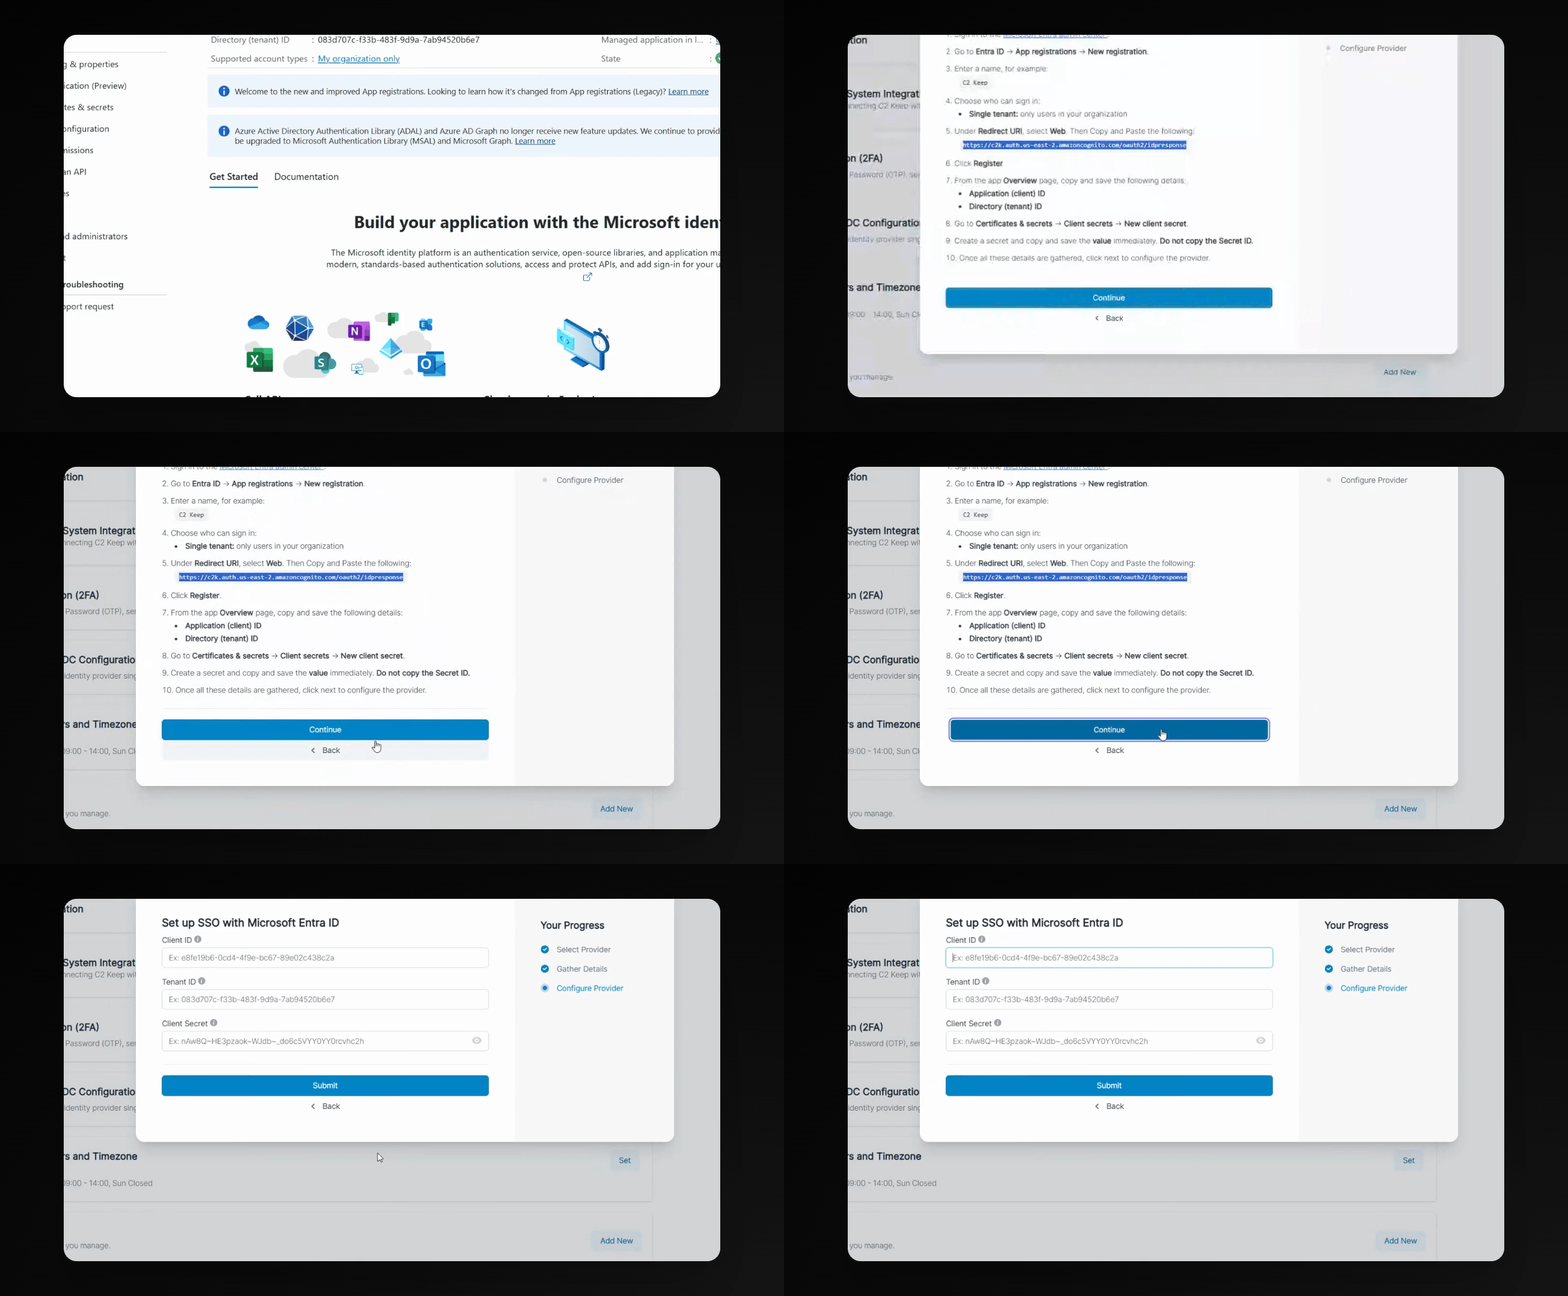
Step 6: Create a Client Secret
In Microsoft Entra, create a new Client secret for your application.
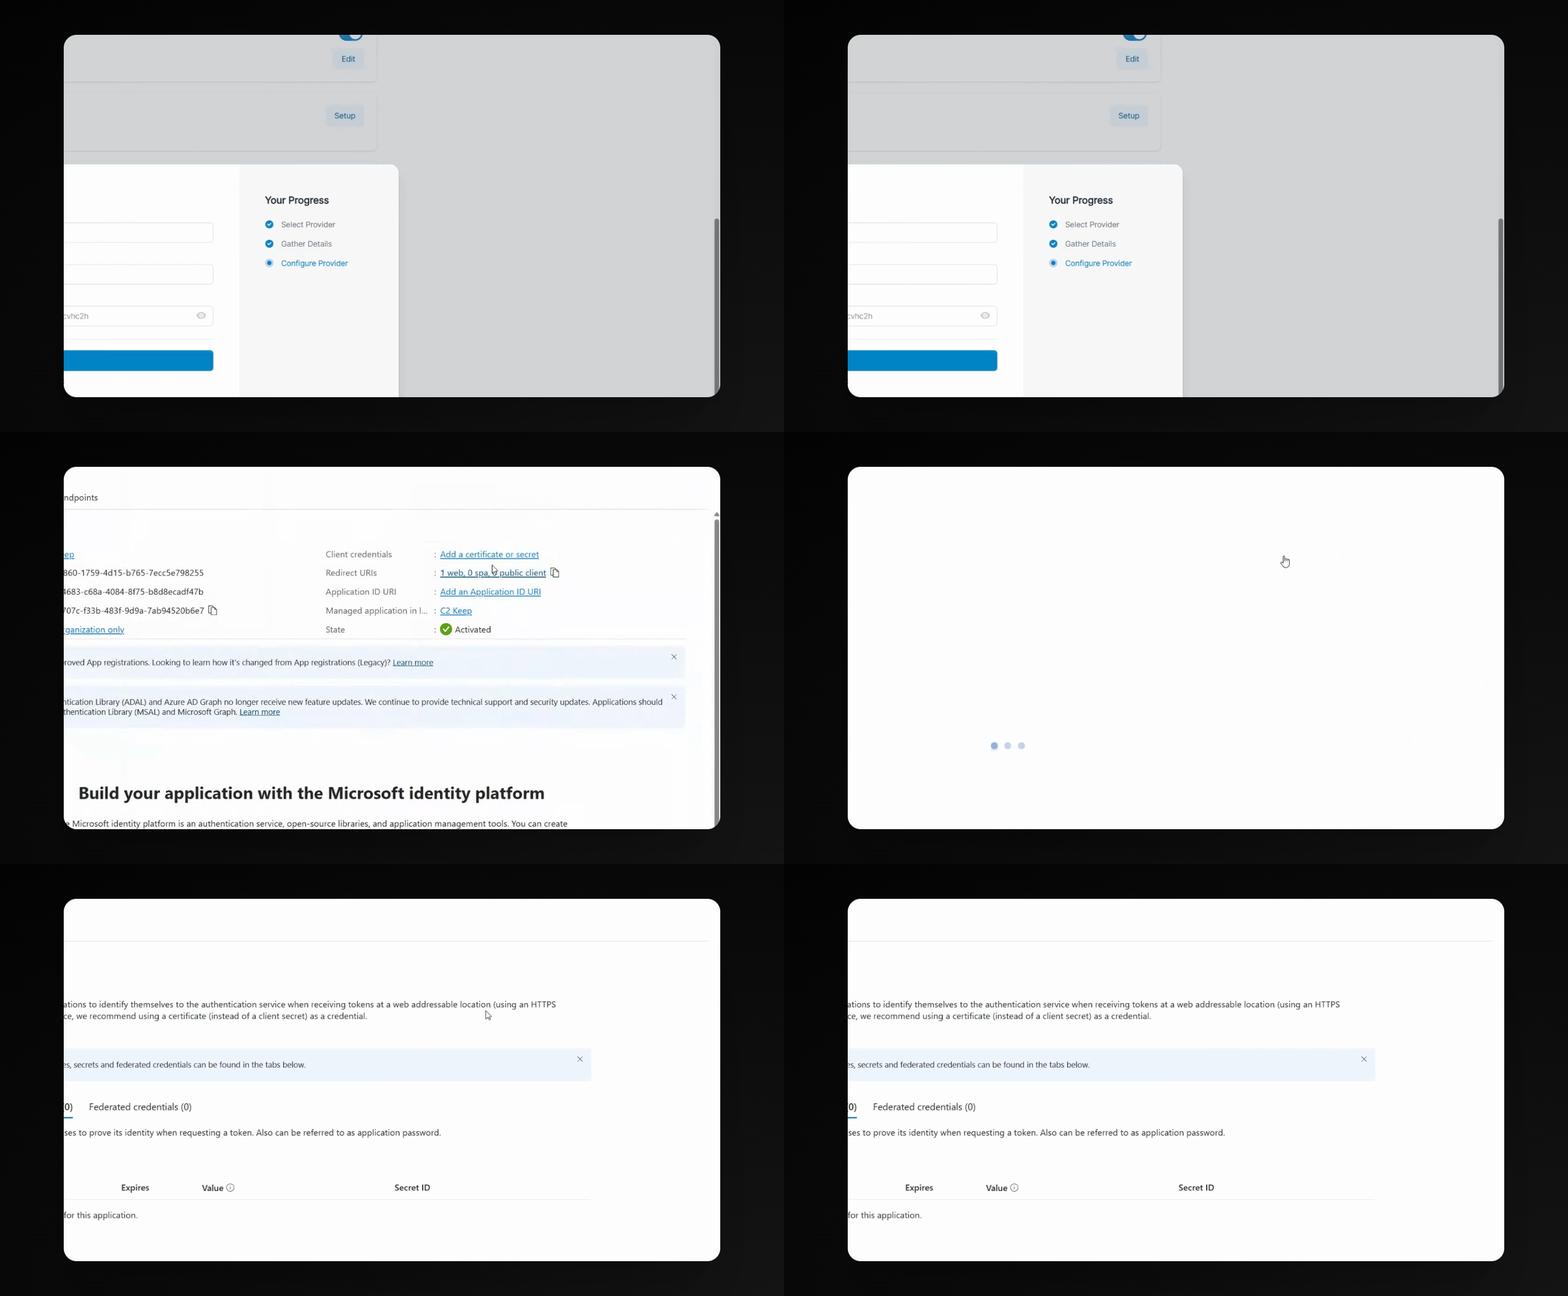
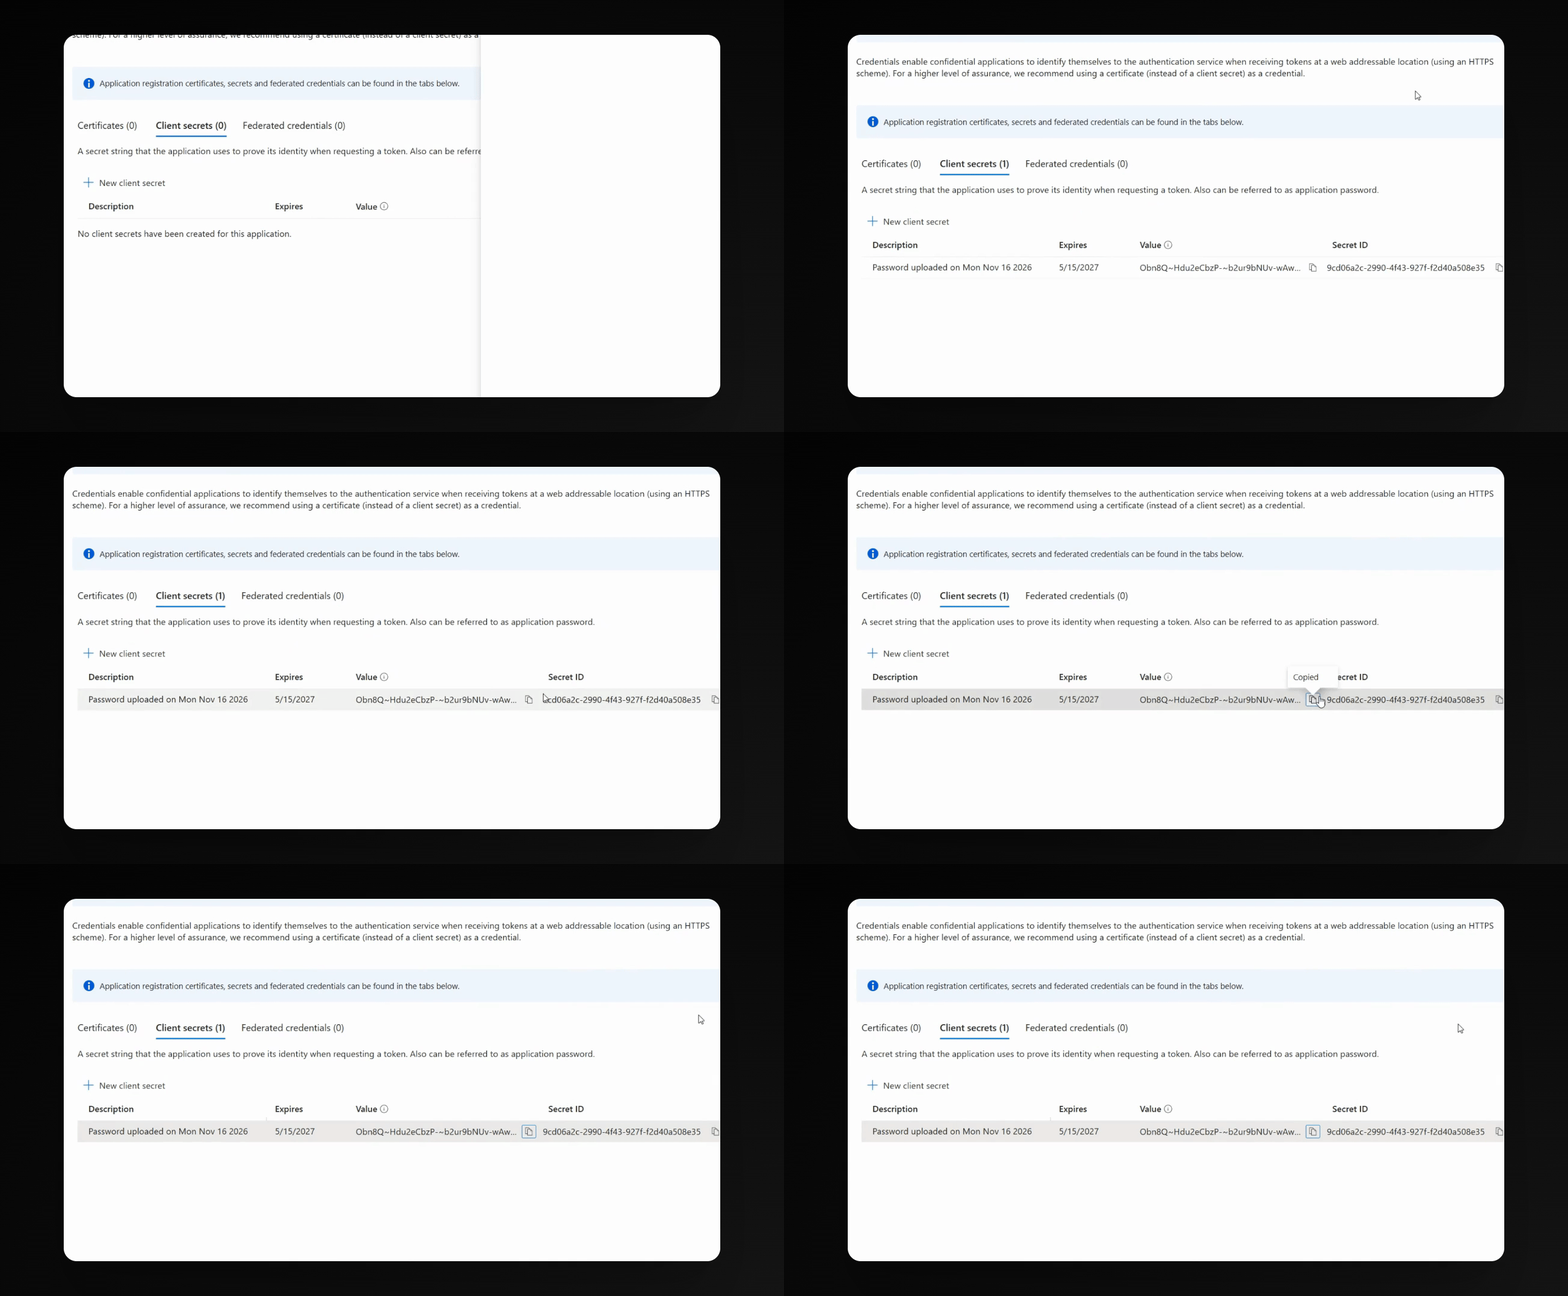
Step 7: Copy and Store Client Secret
Copy the value of the client secret. Do not share this secret with anyone.
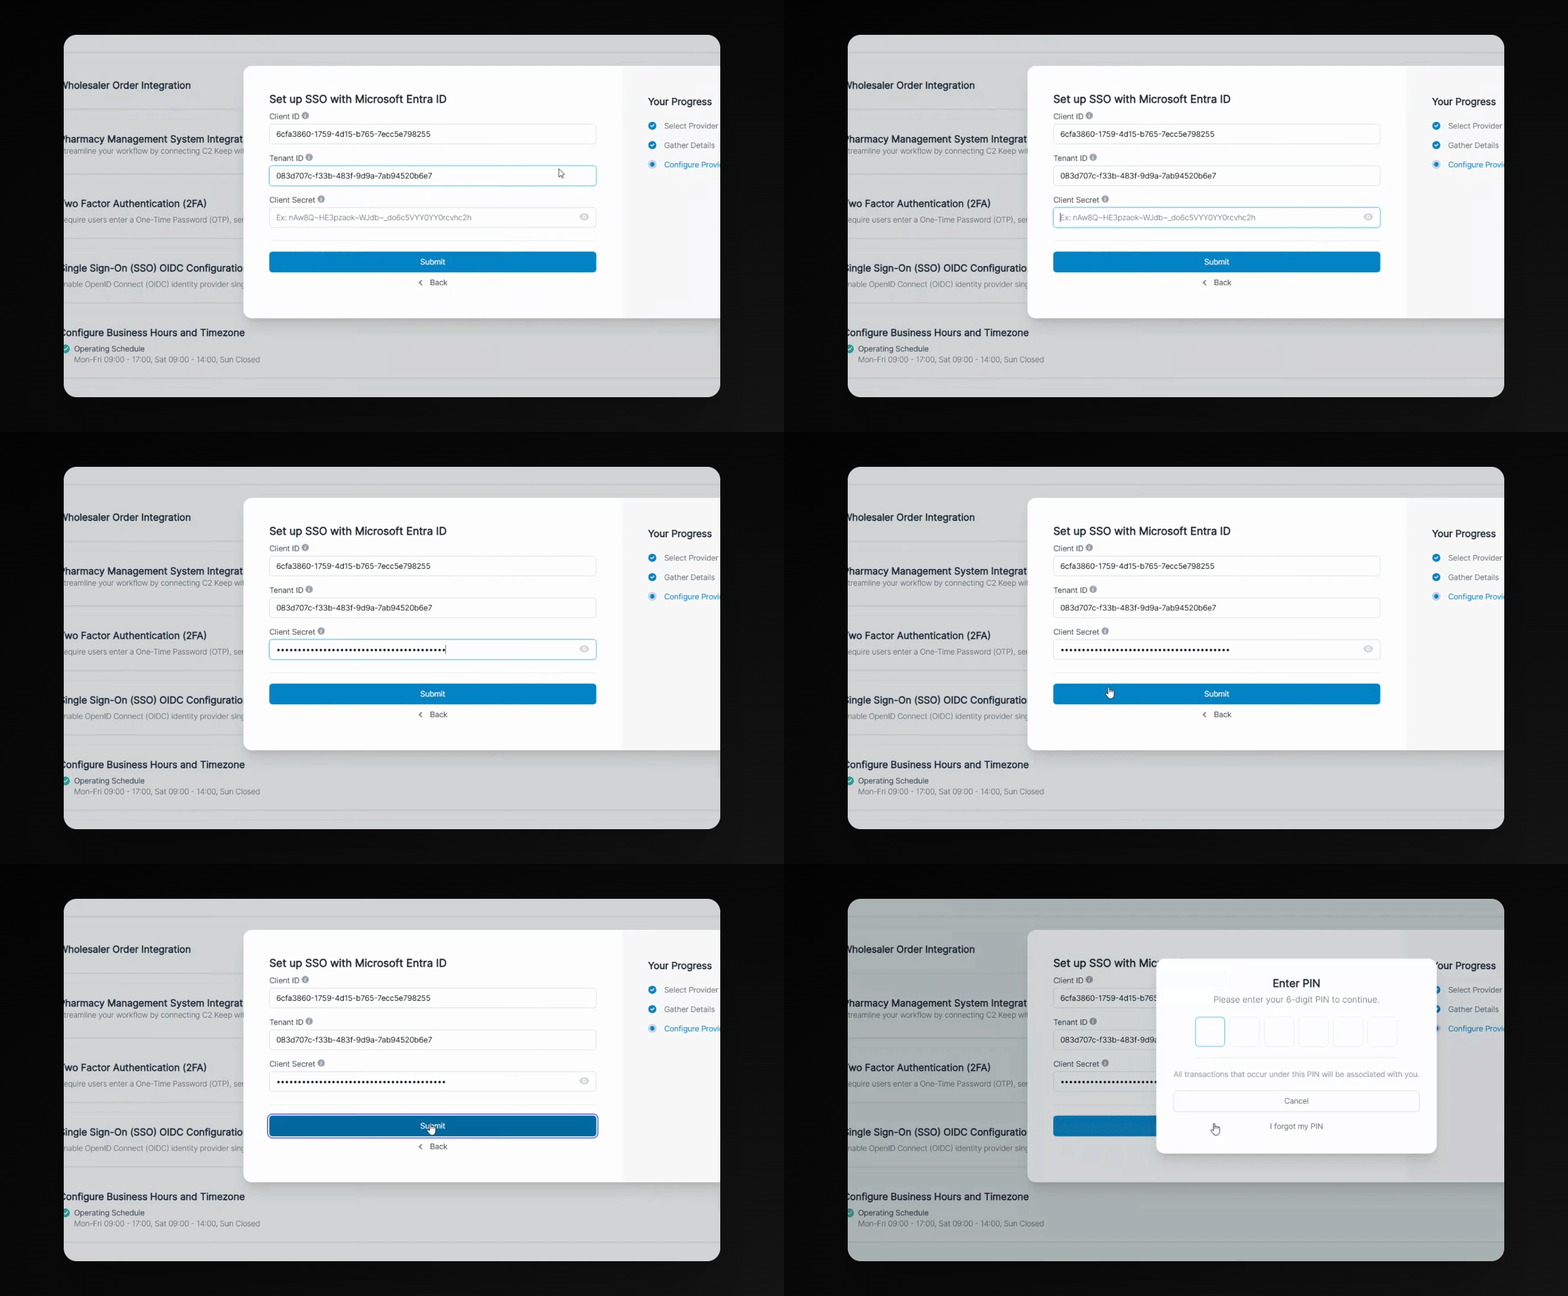
Step 8: Submit Credentials
Paste the client secret into your application setup and click Submit or enter your PIN if required.
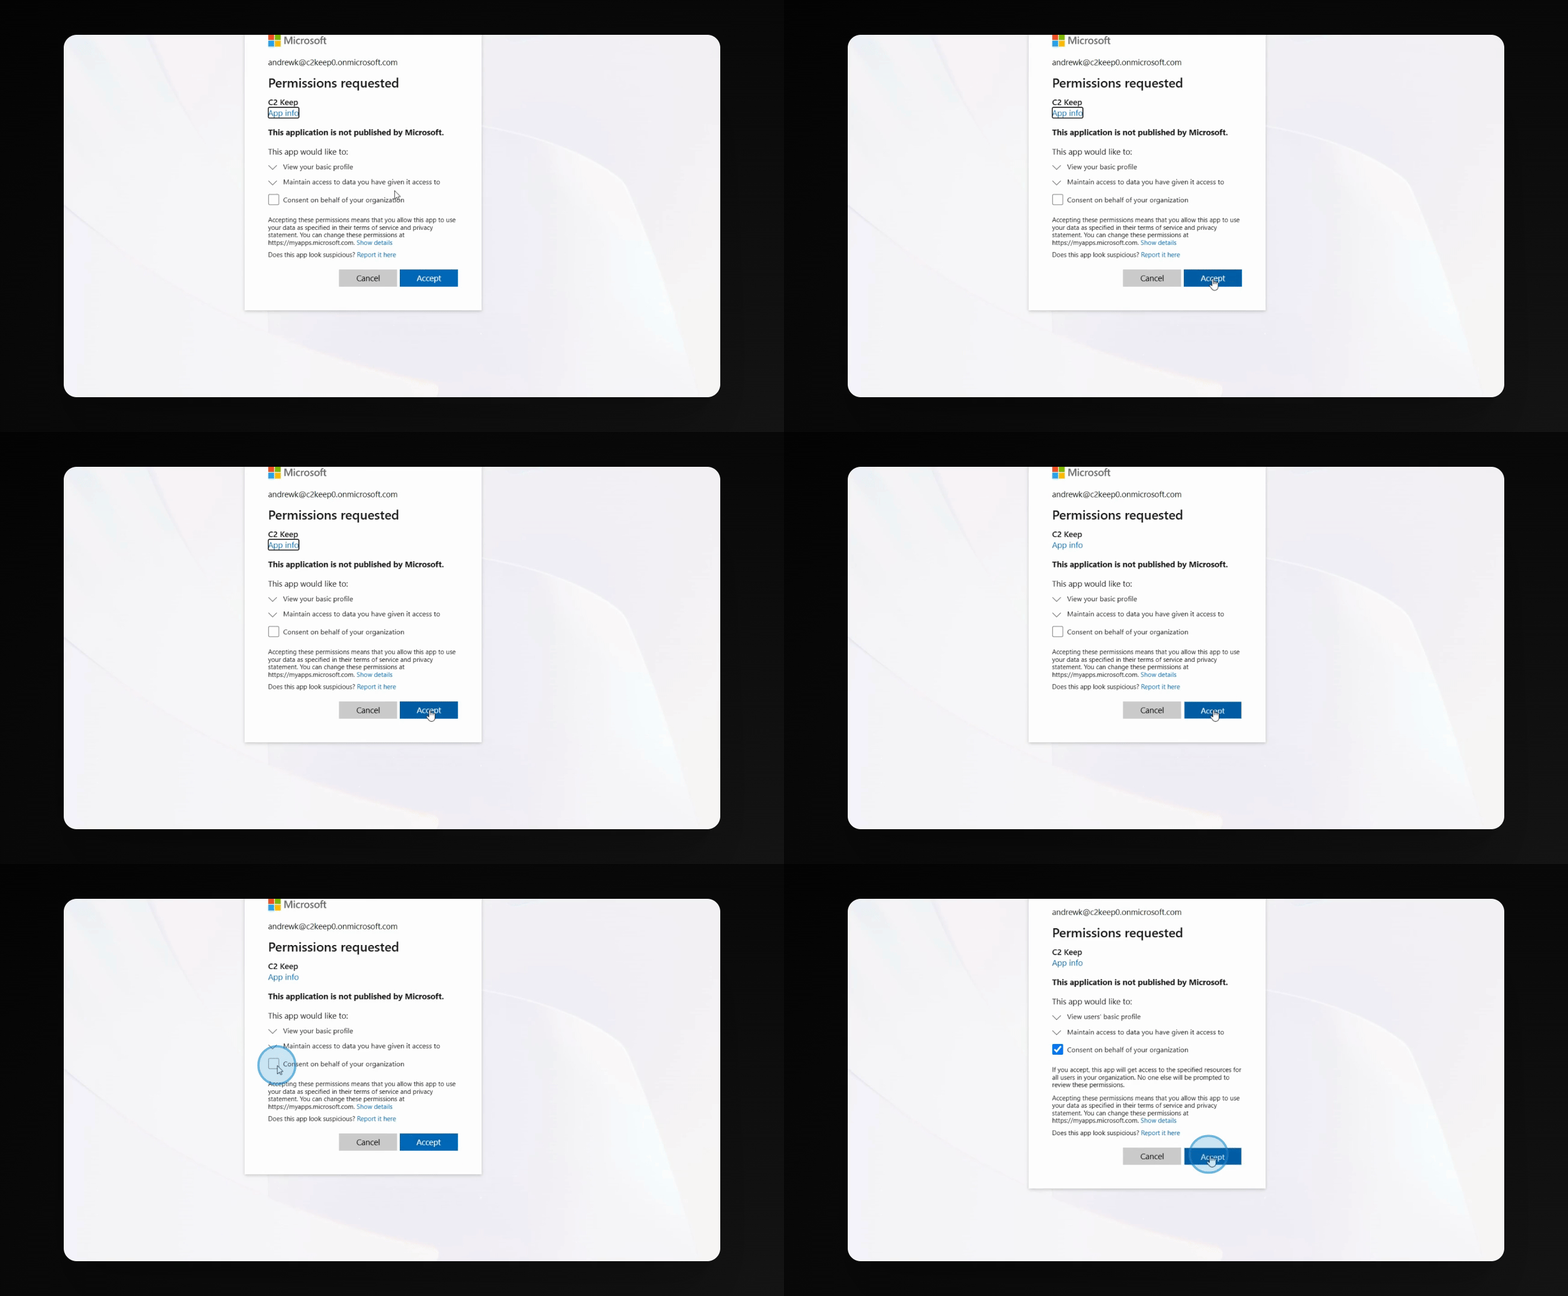
Step 9: Accept Permissions
Accept the requested permissions to complete the setup process.
The Single Sign-On setup with Microsoft Entra is now complete.